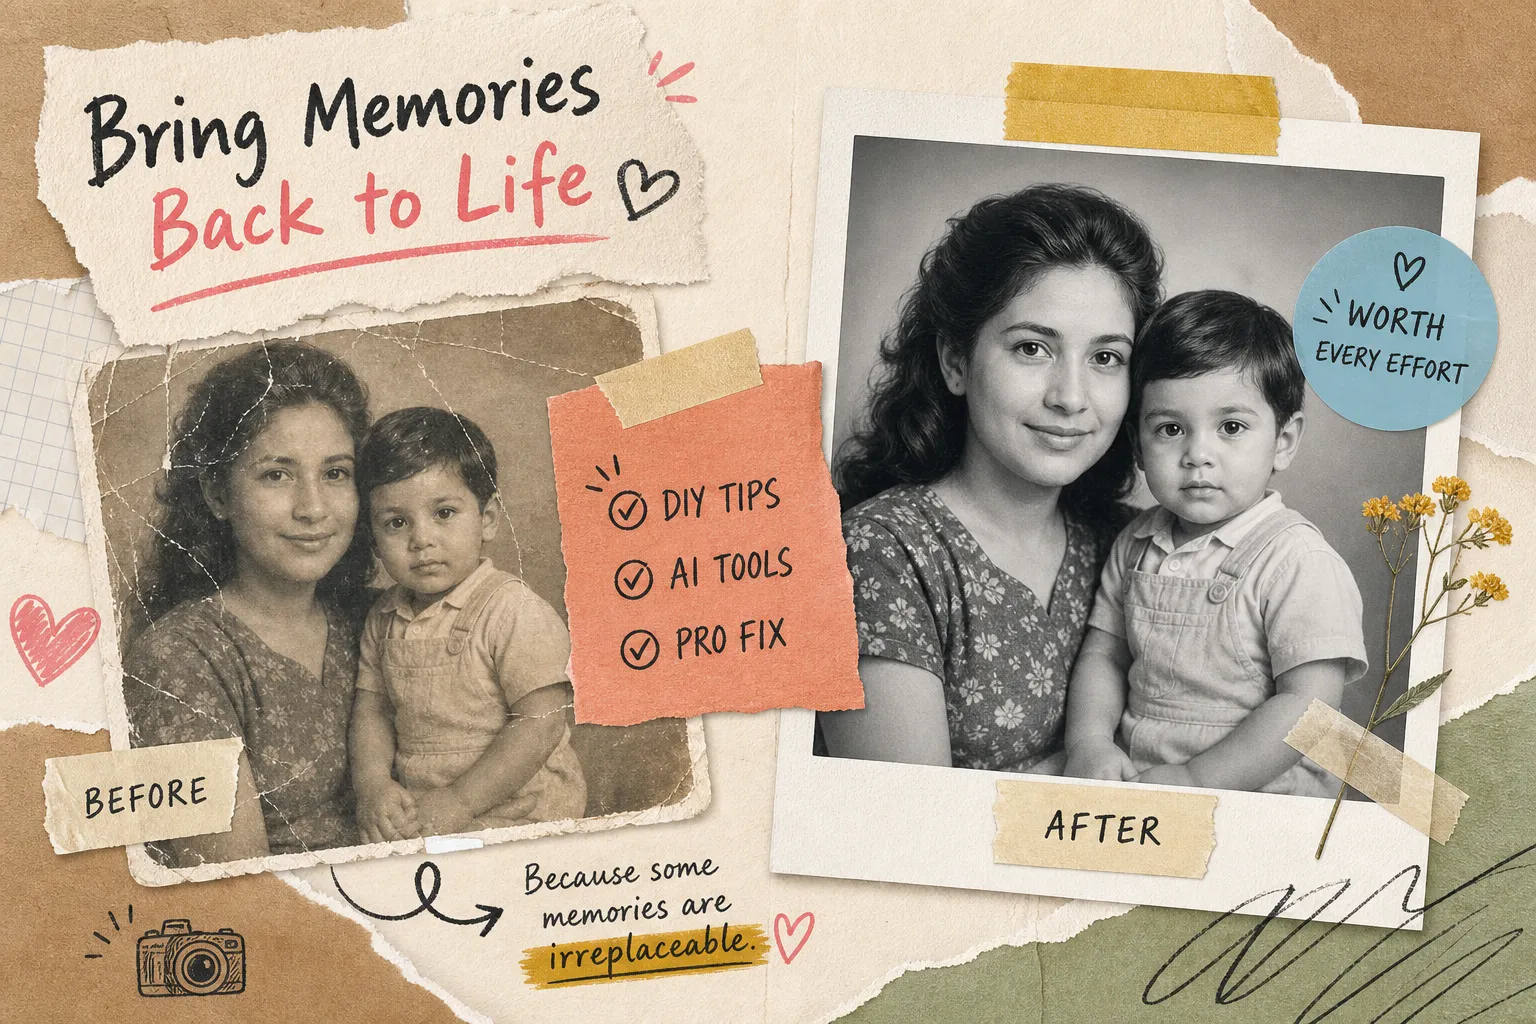
A faded photograph is not just a damaged image. It's an erased memory, the details of a grandmother's face at her wedding, the colors of a childhood home that no longer stands, the expression of someone you can no longer ask about. A sun-bleached portrait or a sepia print turning the color of old cardboard represents something that exists nowhere else. The good news is that modern restoration methods can help you fix faded photographs that look like a complete loss, pulling back surprising detail through digital tools, AI software, or professional retouching.
Tampa Bay families have been rediscovering this firsthand for decades, often with help from studios with deep regional roots. This guide walks you through every realistic option: why your photo faded, how to prepare it correctly, what you can fix yourself, what AI tools can handle, and when the smartest move is handing it to a professional.
Why photographs fade, and why the cause changes your approach
Understanding why a photo faded is not just trivia. It tells you which restoration strategy will actually work and how good your results can realistically be.
How sunlight and UV exposure destroy color
UV light breaks the chemical bonds in dye molecules, which is why a print left near a window fades unevenly, often losing warm tones first. Once dye is chemically destroyed, no digital tool restores the original color with certainty. What software and professional retouchers do is reconstruct a best guess based on the remaining tonal data. That's still enormously valuable, but it's worth setting realistic expectations before you start.
How humidity, heat, and poor storage accelerate deterioration
Moisture causes the emulsion layers in a print to separate and warp. Heat speeds up chemical breakdown across every layer of the photo. Acidic storage materials, common cardboard boxes and cheap plastic sleeves among them, actively degrade prints over time through off-gassing. If poor storage caused or worsened the damage, solving that problem alongside the restoration prevents the cycle from repeating on your new print.
What this means for the results you should expect
Mild fading from a single cause is highly recoverable. When decades of sun exposure combine with humid storage, the damage compounds in ways that are harder to fully reverse, a print with heavy color loss across multiple dye layers, for example, may improve dramatically in contrast and readability while still falling short of its original palette. Some restoration work achieves a major improvement without producing a perfect match to how the photo originally looked, and knowing that going in keeps expectations grounded in reality.
Scanning your photo correctly before any restoration begins
Most restoration guides skip straight to software. That's a mistake. A bad scan produces a bad restoration regardless of the tool used, and readers who've tried an online AI tool only to get muddy, artificially processed results usually find the scan was the problem all along. The quality of your source file sets the ceiling for everything that follows.
Resolution, file format, and the settings that actually matter
Use 600 DPI as your reliable default for most old prints. For small photos, wallet-size prints, or images with heavy damage that require significant cropping, go to 1200 DPI or higher. The correct file format is uncompressed TIFF, not JPEG. JPEG compression discards subtle tonal detail at the exact moment restoration tools need it most, when they're reading what's underneath the fading. Scanning at 300 DPI and saving as a web-quality JPEG is the single most common mistake people make before they even open an editing program.
Pre-scan settings to turn off before you start
Most flatbed scanners apply automatic color correction, dust removal, and sharpening before the file reaches your computer. These auto-enhancements bake changes into the data that conflict with manual or AI restoration later. Disable each one before you scan. Save the raw master scan as a completely separate file before you touch it, so you always have the unedited original to return to if a restoration attempt goes wrong.
DIY: How to fix faded photographs in Photoshop
Photoshop gives you more control over a faded photo than any automated tool. The tradeoff is that it requires time and a willingness to learn a few core techniques. Here's what those techniques actually do and where they reach their limits.
Restoring contrast and tone with Levels and Curves
Start with a Levels adjustment layer. Pull the black slider inward to reclaim shadow depth and pull the white slider inward to recover highlight brightness that fading has washed out. This single step restores the structural contrast that makes a photo look like a photo again. Layer Curves on top for channel-by-channel control, which is especially effective for prints with a strong color cast, the orange-yellow shift that's almost universal in 1970s and 1980s color prints is a good example. Both tools work on non-destructive adjustment layers, which means your original pixel data stays completely intact beneath every change you make.
Correcting color cast with Color Balance and Hue/Saturation
Color correction in Photoshop lets you adjust highlights, midtones, and shadows separately, which is the right approach for fixing the green or magenta cast that appears when one dye layer fades faster than the others. The technique that separates good results from mediocre ones is sampling an area that should be neutral: a white shirt, a patch of clear sky, a gray sidewalk. Use that area as your reference point while adjusting, rather than judging by eye against the overall washed-out image.
Removing physical damage with Spot Healing and Clone Stamp
Spot Healing handles dust, surface marks, and small scratches efficiently. Clone Stamp is the right tool for tears, missing corners, and larger damaged regions where you're reconstructing texture from adjacent areas. Be direct about where this stops working: reconstructing a blurred or missing face requires artistic judgment that software alone cannot supply reliably. If a face is gone, you need more than tools.
AI restoration tools: which ones actually work and which overpromise
AI photo restoration has improved dramatically, but the category is crowded with tools that range from genuinely useful to misleading. Here's an honest breakdown so you're not spending time on the wrong option.
Tools that produce the most natural results on faded photos
Best photo restoration tools like LetsEnhance, particularly its Old Photo model with Authentic mode enabled, are a reliable automated option for realism. It recovers detail without over-saturating colors or producing an "AI-filtered" look. Adobe Photoshop and Lightroom remain a strong combination for users who want AI-assisted color recovery with manual control on top. VanceAI and similar services perform well on family portraits, especially faces, though their output can trend toward an overly polished aesthetic that looks noticeably processed on close inspection.
Where Canva, Picsart, and quick-fix tools fall short
Canva and Picsart are convenient for mild enhancement, but they're not designed for serious old photo repair. They tend to oversaturate faded color images and apply uniform sharpening that produces artificial results. They're fine for a quick social media share, but they're not the right tools when you intend to frame or pass down the result. If print quality is your goal, these AI photo enhancer tools won't get you there.
The core limitation every AI tool shares
AI restoration guesses at missing color. On a heavily faded photo, the tool is making educated inferences about what a dress or a background looked like, not reading actual surviving data. This produces errors that range from subtle to obvious, and a confident-looking output doesn't mean an accurate one. Treat any AI result as a starting point to inspect carefully, not a finished restoration you can trust at face value.
When DIY hits its limits: what professional restoration actually delivers
Software tools, whether manual or AI-powered, work best on mild to moderate fading where enough original image data survives. When the damage goes deeper, the gap between what software produces and what a skilled restorer delivers becomes significant.
What separates professional restoration from digital self-service
A skilled restorer applies visual judgment, artistic reconstruction, and in some cases historical knowledge that no algorithm replaces. For heavily damaged prints with missing faces, faded fine detail like fabric textures, or chemical staining covering large areas, a professional combines high-resolution scanning, meticulous manual retouching, and calibrated output to deliver results that hold up at print size. Studios that specialize in archival photo restoration approach each damaged print as a conservation project rather than a batch job. That distinction is visible in the results: the restored image looks authentic rather than filtered, and fine detail holds when you print and frame it. Bob Baggett Photography in Tampa Bay has been restoring faded photos and photographs for over 45 years.
What it costs to have a pro restore your photo
Pricing depends entirely on the condition of the print and how much reconstruction is required — light fading is a different project from a torn, water-stained portrait missing half a face. The honest answer is that a quick look at your photo is the only way to give a real number. Send us a scan or photo of the original and we'll get back to you with a tailored estimate and turnaround based on what your specific photo actually needs.
Preservation after restoration: keeping the result safe
A restored print is still vulnerable to the same conditions that damaged the original. Store it in acid-free sleeves or archival mats, keep it away from direct light and humidity, and always retain the high-resolution digital file as a backup. That file is your true insurance. If anything happens to the physical print, a fresh archival-quality reproduction can be made from it. Storage habits matter as much as the restoration itself, and skipping this step means the work eventually needs to be done again.
Choosing how to fix faded photographs: DIY, AI, or pro
The decision framework is straightforward. If fading is mild and you're comfortable in Photoshop, the DIY workflow is worth attempting. If you want a fast digital preview without significant editing effort, a tool like LetsEnhance gives a reasonable automated result. For a photograph that holds real sentimental or historical value, and especially for damage that goes beyond what software handles reliably, professional restoration is the only path to a result worth framing and passing on.
Tampa Bay residents looking to fix faded photographs with that level of care have a strong local option in Services | Executive Headshots & Photo Restoration | Bob Baggett Photography, a studio with more than four decades of experience treating family heirlooms with exactly the attention they deserve. Whether you're dealing with a sun-bleached portrait, a water-damaged print, or a deteriorating negative that's been sitting in a box for thirty years, the starting point is the same: get a proper scan, assess the damage honestly, and choose your method based on what the photograph actually means to you.
If you're unsure where your photo falls on the damage spectrum, reach out to Bob Baggett Photography to have your photo evaluated before committing to any approach. Some photos surprise you with how much comes back. The ones that matter most deserve the chance.