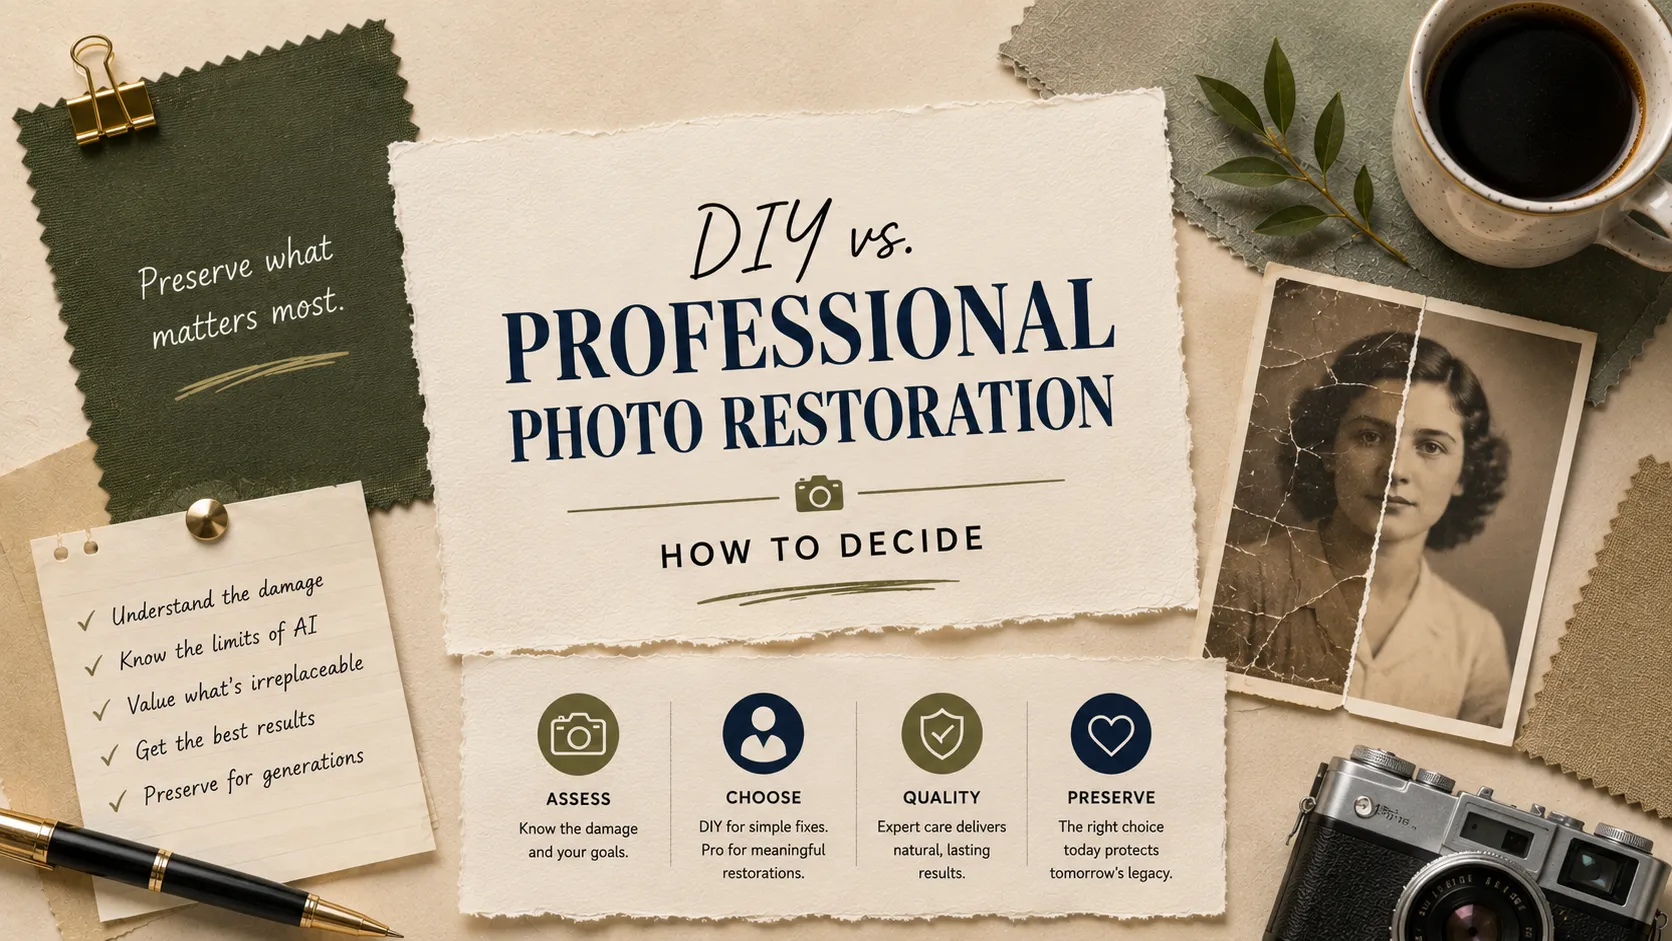
Almost every restoration project starts the same way. Someone is cleaning out a parent's house, or sorting through a box that has been in a closet since the move three houses ago, and a photograph turns up that stops them. After more than 45 years of restoration work in Tampa Bay, including the kind featured on ABC's Extreme Makeover: Home Edition, this is the practical guide we wish people had before they started fiddling with phone apps.
What DIY tools can actually do well today
Consumer restoration tools have changed substantially in the last five years. Adobe Photoshop introduced Neural Filters in 2020, including a "Photo Restoration" filter that can remove scratches, restore detail, and colorize black-and-white prints in a single click. Remini, MyHeritage's "Photo Enhancer," and a small ecosystem of phone apps using similar models can produce a sharper, cleaner version of a faded snapshot in under a minute. For a casual snapshot you want to share in a family group chat, these tools will usually get you there fast, and the result will look fine on a phone screen.
The honest assessment of where they excel is narrow but real. Mild color fading on a print that still has most of its tonal information intact. A slightly soft image that needs a touch of sharpening. Light dust and small scratches scattered across a clean background. A moderate boost in contrast on a photo that has gone flat with age. When the source image is relatively clean and the damage is light, the AI does an impressive job with very little effort on your part. They are also genuinely useful for triage, scanning a stack of family photos and identifying which ones are in the worst shape and which ones are basically fine.
Where DIY tools quietly fail
The trouble is harder to see on a phone and obvious the moment a photograph is printed or enlarged. Faces get a faintly plastic look. Skin texture flattens. Eyes lose their depth and start to feel painted on. The models "reconstruct" detail that is missing in the original, and the reconstruction often looks generic rather than personal, your grandmother's face starts looking like a generic 1940s woman's face. The technical name for this is hallucination, and the larger the missing area, the worse it gets. In my opinion this is the single most important thing to understand about AI restoration: the tools do not actually recover what was lost; they make a confident guess at what could have been there, and the guess is shaped by the millions of other faces the model has seen, not by the specific person you are trying to preserve.
When professional restoration is the right call
The decision becomes straightforward once you look at the photograph honestly. Hand it to a professional when any of the following apply. The photograph is irreplaceable, the only copy of an image whose negative is long gone. The damage is structural, tears, missing corners, mold spots, water damage, silvering, creases, anything that requires manual reconstruction rather than filtering. The restoration is destined for print at meaningful size, an enlargement, a framed gift, a memorial display, a wall print; consumer tools optimize for screen at small sizes and the artifacts that are invisible at 800 pixels become loud at 16" × 20". The face matters personally, a parent, a grandparent, someone you knew, where a generic smoothed-out version is not what you want hanging in your home. And finally, the color has shifted dramatically, the pink-and-orange cast common in 1960s–80s color prints, which requires informed judgment about era, lighting, fabric, and skin tone rather than a confident automated guess.
What professional restoration actually involves
A professional restoration follows a consistent process. The original photograph is scanned at high resolution, usually 600 to 1200 DPI per Library of Congress preservation guidelines, into an uncompressed format like TIFF that preserves every tonal detail. The original is then set aside and never touched again; all work is done on the digital file, with versions saved at each major step in case a decision needs to be revisited. Damage is addressed in roughly the order it should be: structural repairs first, then surface cleanup, then tonal work, then careful retouching of faces and key details, then final sharpening and output preparation. The whole process is iterative, with the conservator going back and forth between steps as the image reveals what it needs. For a deeper walkthrough of the techniques specifically for faded prints, our guide to fixing faded photographs covers DIY, AI, and professional approaches in more depth.
Why scanning matters as much as restoration
A bad scan produces a bad restoration regardless of the tool used, and most consumer scans are bad in predictable ways. Resolution too low, JPEG compression instead of TIFF, automatic color correction running silently in the background, glass dirty enough to introduce dust spots that did not exist on the print. We see this constantly: a client brings in a "restored" file someone made for them on a flatbed scanner with default settings, and the file has half the tonal information of the original print. Scanning at 600 DPI uncompressed, on calibrated equipment, with proper handling of the physical print, is the foundation everything else sits on. It is also, in my opinion, the single most undervalued part of professional restoration; clients see the retouched faces, but the work that made the retouching possible happened before any pixel was touched.
How long professional restoration takes
Most restorations are completed within one to two weeks, depending on the complexity of the work required. A heavily damaged print with structural reconstruction can take longer, particularly if the project includes color reconstruction or multiple images in a series. Rush services are available for genuinely time-sensitive projects, a memorial display, a milestone birthday, a gift with a hard deadline. We commit to a delivery window at intake and treat it the same way as the work itself, which is part of why this studio has been recommended through Tampa Bay families for over forty years.
A real example of what professional restoration can recover
A photograph that comes to mind: a 1920s wedding portrait brought to us by a Tampa family, severely faded, with a tear running diagonally across the bride's veil, mold spotting along one edge, and the kind of dye-layer collapse that made the original color readings nearly impossible to recover with automated tools. The family had tried two different AI services first. Both produced versions where the bride's face was smoothed into someone recognizably wrong, the specific features of her cheekbones and eye shape replaced with generic 1920s-bride features. The restoration we delivered took roughly three weeks, included structural reconstruction across the torn veil, color reconstruction based on photographs of the same dress fabric from the same era, and careful retouching of the face that preserved the specific person rather than reinventing her. The family's response was the only response that matters: that is her.
What it costs compared to DIY
The honest comparison is not really about money. A DIY tool costs a few dollars per month or is free, but the time investment to get a passable result on a moderately damaged photo can easily run into hours of trial and error, and the result is locked into whatever the tool produced, with no way to refine the parts that look wrong. Professional restoration costs more up front, but you receive a clean restored file, an archival-quality print rated for 75+ years of display life if you want one, the original photograph returned undamaged, and a result that holds up at any size, on any wall, for decades. For an heirloom that will outlive everyone in the room when it was taken, that math is rarely close.
A reasonable middle path for stacks of family photos
For families with a stack of photos rather than a single heirloom, a middle path makes sense. Use DIY tools on the lighter, less precious snapshots, the casual prints from the 1980s and 1990s that just need light color correction and dust cleanup. Reserve professional restoration for the ones that genuinely matter, the wedding portrait, the great-grandparents, the studio prints from before color photography existed, the damaged image of someone you cannot photograph again. Spending the budget where the stakes are highest is almost always the right call. In practice, we often help families triage a stack at the first consultation, identifying which prints truly need the full process and which ones they can handle themselves; we would rather give honest advice and earn the work that genuinely deserves it.
Common questions about restoring old and damaged photos
What is the best way to repair a torn or faded vintage photo? Start by scanning the original at high resolution before you attempt anything, then match the method to the damage. Light fading on an otherwise intact print is often within reach of careful DIY or AI work. A torn vintage photo, where emulsion is physically missing along the tear, needs manual reconstruction that rebuilds the lost area from surrounding detail rather than guessing at it, which is professional territory. The single most important rule is to never work on the only copy: scan first, set the original aside, and do all editing on the digital file.
How do I restore an old damaged family photograph? The honest answer depends on what kind of damage it is and how much the photo matters. For a casual snapshot with mild fading, a consumer tool will get you a usable result in minutes. For an irreplaceable family photograph, especially one with structural damage, a face that matters personally, or a result you intend to print and frame, professional restoration is the safer call, because the goal is to preserve the specific person rather than let an automated model invent a generic stand-in. When in doubt, a quick consultation will tell you which path is worth taking before you invest hours or money in the wrong one.
Ready to restore a photo that matters?
If you have a photograph you have been hesitant to trust to an automated tool, contact Bob for a quiet conversation about what the restoration would actually involve. You can learn more about our photo restoration service and the process we follow from intake to delivery. After 45+ years of restoring Tampa Bay's family heirlooms, the work is calm, collaborative, and unhurried, exactly the way an heirloom deserves to be handled.